
Fondant Practice


2011 is going to be a big year for me in cakes. The Austin Cake Show and Competition is coming up fast (http://thattakesthecake.org), and I'm crazy enough to enter 4 categories. I'll be doing the cake and favors for my girlfriend's baby shower. I've been asked to do the wedding and groom's cake for my brother-in-law and his beautiful fiance. There's little room for error on these momentous occasion cakes! While on Christmas vacation I got a leg up on working with fondant again.
Damming and filling.


Can't forget to crumb-coat!

Still practicing getting buttercream on straight.

My fondant is from Toba Garrett's recipe. I initially noticed that that fondant was very soft, but took no action to correct it. Shame on me! I really should have taken the time to add more powdered sugar and get to a better consistency. Trying to cover this cake with such a loose fondant resulted in rips and tears. I am definitely not happy with how this came out. I also greatly underestimated the necessity for straight buttercream underneath. The sides of my round cake where not perpendicular to the table surface. This resulted in crooked sides, quite noticeable once the fondant was on. Tsk, tsk. Bad caker!

I needed to practice wrapping the cake with a fondant band. Here is a textured roller that I bought at my local cake supply store. It was fairly easy to use and made a very pretty crepe fabric look.

I need more practice cutting ribbons cleanly and evenly.

I busted out the lusterdust to make it pop.

So I was pretty dejected after this cake. I thought it was going to be so easy to cover a cake with fondant and it turned out harder than I remembered. Here's cake #2.
This time I tried out a new icing recipe from Toba Garrett: French Vanilla buttercream. It was pretty tasty, but I think next time I'd like to tweak it a little. I'd like to double the flour so it can thicken up more, then I could cut down the butter (5 sticks is pretty hefty).

Works great as icing and filling!


Dirty icing!

I paid closer attention to my sides this time.


I made sure to thicken up my fondant with some powdered sugar before trying to cover this cake. It worked much much better this time around. Unfortunately I didn't have enough fondant to properly cover all the surfaces easily. Here's what happened to one side. Fortunately I was able to smooth it out with my fingers and also a wad of extra fondant.
Before ...

After ... You'd never know!

Let's bust out the tappits!

I've never used my FMM funky letter tappits before. It didn't go well. The fondant was too soft and got stuck inside the cutter. I was being stubborn and refused to mix in any tylose. In the end, I impressed most of the lettering and then cut out the fondant with my Exacto knife.

What?? I somehow got a repeat letter strip ... and am missing the one I needed!

It took a while to figure out how to attach these letters to the cake. I tried brushing on piping gel, but the letters were so delicate to handle, it became a nightmare. Fortunately the cake began to sweat. The condensation was enough for me to press the letter down and make it stick.

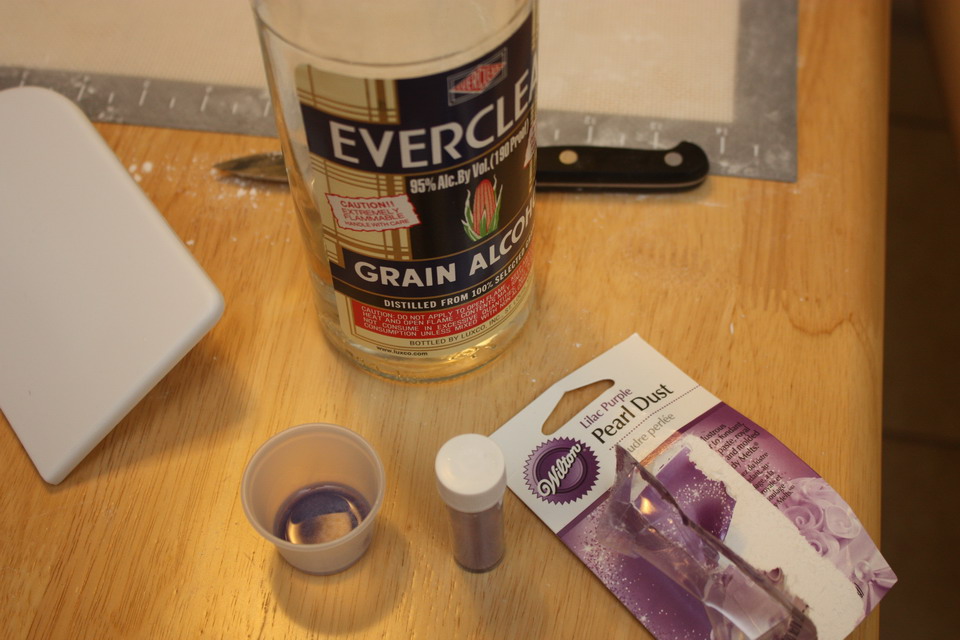
Luster dust + Everclear!

Shiny letters ... sweaty fondant ...

It's been a while since I've been with a cake several hours after decorating it. If I take a cake to work, it disappears in minutes. This time my husband's family and I enjoyed it on New Year's Eve and then again at a barbecue on New Year's Day. I was able to witness how well it held up. The fondant did sweat, but then it all evaporates. As long as you don't touch it while it comes to room temperature, it'll be just fine. It looked nice on the inside, it wasn't hard to cut ... the cake was a little dry. I think I'm going to move away from the doctored recipe I've been using. I must have that "box-mix palette" that scratch bakers hate!
I was much happier with my work on this cake. I got to try out a lot of new things and practice again on my basics. I'm looking forward to doing more and more!
I was much happier with my work on this cake. I got to try out a lot of new things and practice again on my basics. I'm looking forward to doing more and more!
Happy New Year! Wish me luck!

Tappits were once the bane of my existence. I learned a great tip on CC though...use a piece of plastic wrap that's dusted well w/ powdered sugar between the fondant/gumpaste & tappit cutter. Voila!
ReplyDeleteThe top edges of your cake look great. Mine are always so rounded. I don't let me cakes chill enough before fondanting.
Ah!! I completely forgot about that trick! I even had it bookmarked, but it was so long ago when I read that on cakecentral! Thanks for reminding me ... gah! I probably could have saved so much time.
ReplyDelete